ALY MORRISON'S "BUTTERFLY" ADVENTURES IN THE WORLD OF WARGAMES AND TOY SOLDIERS
Showing posts with label Tutorials. Show all posts

Sunday, 10 December 2017

Hedges

A while back I wrote a hedge making tutorial and posted it on the A Military Gentleman Forum...


I have now at long last finished all of my hedges and to celebrate this I thought that I would post it here on the blog...


All my hedges are based on K & M Terrain's medium sized hedge...they seem to be between 15 and 20mm tall and approximately 6inches long...there is some variation but not enough to worry about.
I tried a few other materials before settling on K&M but I have found that K&M give the best choice of colour,they are very strong and bendy.


Things you will need...


K&M hedges or similar.
Balsa wood sheeting.
Balsa wood 'D' shaped dowelling... as you will see from the pictures this isn't a proper 'D' it is about 15mm wide and about 17mm high... If you can't find this shape rectangular would be perfectly acceptable and you can of course change the size to suit your needs.
UHU or similar glue.
PVA.
Light weight polyfiller ...I found this a few years ago and I love the stuff ... it is exactly what it says it is... if you imagine someone has whipped up ordinary filler and put a lot of air in it... it doesn't warp bases and it has a nice texture.


I cut my Balsa to the appropriate size...it is useful to draw any irregular or curved shaped lengths out first...


The dowel is then cut and glued down using PVA...
Curves and corners are easily made with some inventive cutting...


At this point some of the hedges will need to be bent to shape so they can fit on the dowel...


The dowel and a suitable amount of Balsa are now cut out and the base is beveled...
A groove is now cut into the top of the dowel ...this should be deep enough to accept the wire core of the K&M hedge...


The K&M hedge is now glued into the groove using UHU..


The next bit is texturing...
I know everybody has their own way that suits their terrain and collections,but I will run through what I like to do...
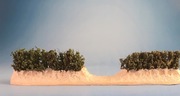


The first thing I do is apply the light weight filler to the base and up the sides of the dowling...
I then take a damp brush ... an old size 2 is what I use...when I say damp I mean  damp... if you put to much water on this stuff it just breaks down to almost nothing...


So I take a damp brush and use it to make branch like shapes near the hedge... they can be quite crudely done...


Once I am satisfied I stipple the rest of the base with my stippling brush...yes I have one just for bases and small bits of terrain...


Once dry I paint and dry brush the groundwork to match my gaming boards and add the appropriate grass and undergrowth foliage...


The base coat is applied ...
The colour I used was a Wilko's colour called Earth Stone... but I am sure there are many other suitable colours available...


Everything is dry brushed with shades of dark and light sand...


Some static grass/floral clumps are added to represent various kinds of undergrowth...


Then everything is flocked in my usual way...


The finished hedges...


And no one is happier than I am that they are finished... I could probably have planted seeds and grown them faster...


I hope that this has been of interest and of some use...


I have also been doing some painting... but more of that later...


All the best.  Aly.


Sunday, 24 September 2017

The War of Spanish Succession ... The Royal Scot's Dragoons (Greys) and Face painting tutorial

The first of my British units is now finished...The Royal Scot's Dragoons later The Royal Scots Greys...


I love this unit...when I was younger I spent a lot of time in the regimental museum in Edinburgh Castle.
If you ever get to Edinburgh try and make time to pay the castle a visit...


https://www.edinburghcastle.gov.uk/


I was enjoying painting these dismounted troopers so much that I forgot to take any WIP shots... I will make up for this when I paint the mounted troops...


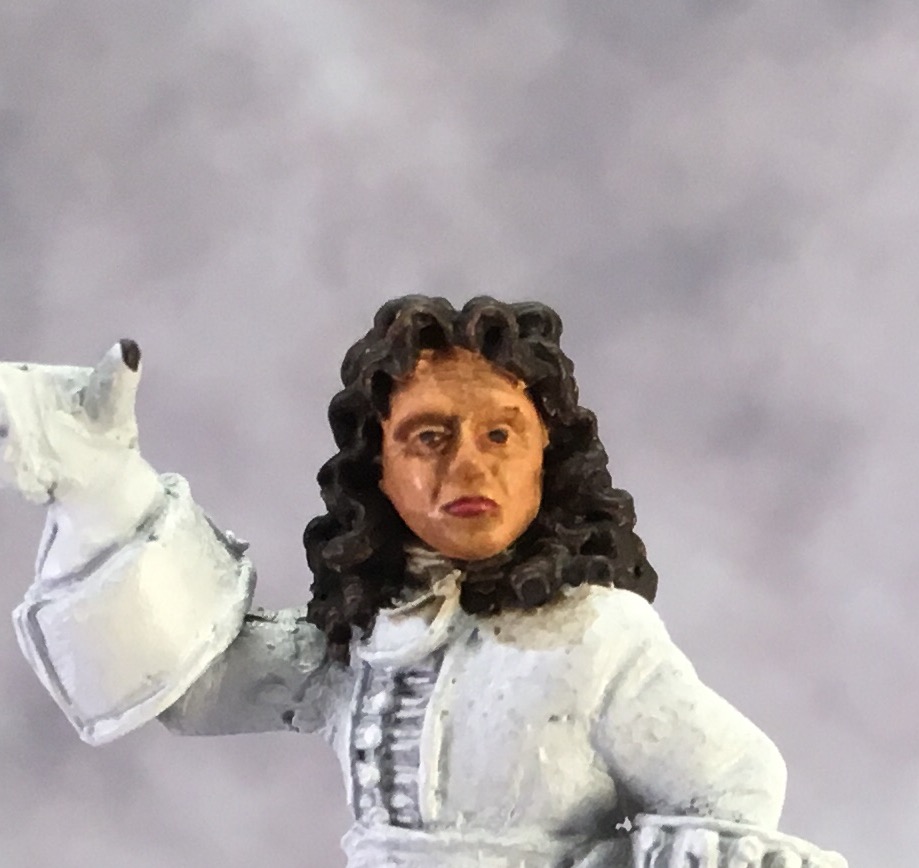
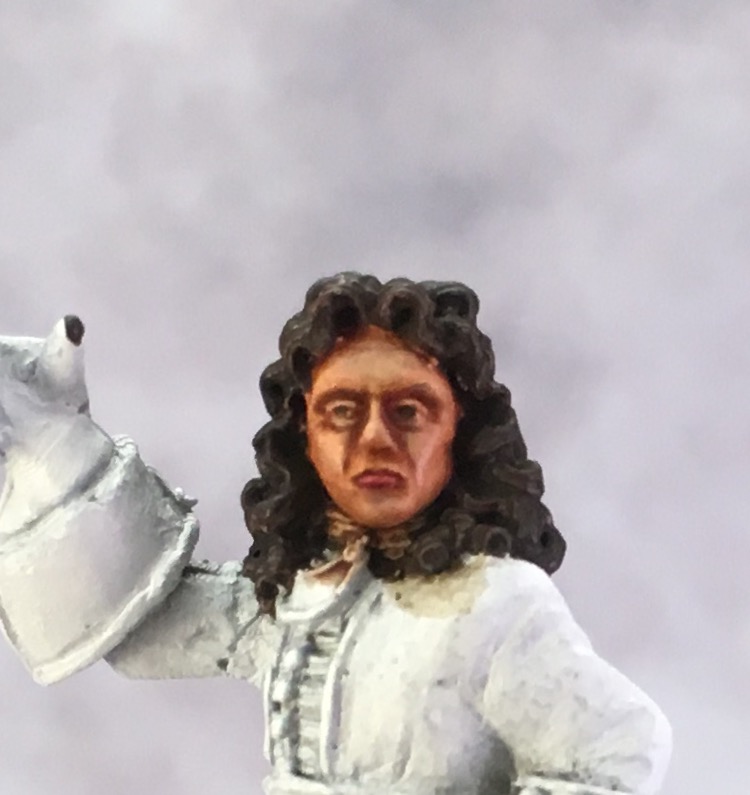
I thought that I would add my short but sweet face painting tutorial to this post...


The paints that I have used are...


Foundry... Flesh 5B
Foundry... Flesh Light 5C
Citadel... Dryad Bark
Citadel... Pink Horror
Citadel...Reikland Fleshshade
And Aly's Brown Liquid... https://alystoysoldiers.blogspot.co.uk/2017/08/the-war-of-spanish-succession-prussian.html


https://www.wargamesfoundry.com/collections/paint


https://www.games-workshop.com/en-GB/Painting-Modelling


Everything is first blocked in with flat colours...


Face... Foundry... Flesh 5B
Hair and eyes Citadel... Dryad Bark
Lips... Citadel... Pink Horror


I have only painted the pupils of the eyes...no whites... on most miniatures I don't even bother with this stage , but it seems to suit Front Rank Miniatures.


A wash of Aly's Brown Liquid...


I have shown this because its what I would wash the whole figure with anyway...
Looks a bit rough at the moment but don't worry.


Next up... Reikland Fleshshade...
He has a bit more colour now...


The flesh is now highlighted with  Flesh 5B slightly diluted with water or as I prefer Citadel... Lahmian Medium.
I think I use about 70% paint to 30% medium... don't worry if you make it a bit thin as you can just pain two coats.


I highlight the Forehead, Cheek Bones, The bridge of the Nose and if needed the Eye Lids.


I have highlighted the Flesh again with diluted Flesh Light 5C...
I put a spot of colour on the Forehead, Cheek Bones and the  bridge of the Nose.


The final stage is a further wash of Alys Brown Liquid to represent 5 o'clock shadow.


As a rule I like to leave the hair a dark colour as it helps frame the face.


Six stages my seem like a lot but if spread out over 18-20 figures you quickly pick up a rhythm.


I hope this has been helpful... as always any questions or comments will be ignored are welcome.


All the best   Aly

Saturday, 2 September 2017

White,Grey-White and Grey.

Anyone diving into the War of Spanish Succession will realise quite quickly that there are lots of White and Grey uniforms.
Knowing this I thought I would have a look at how I was going to represent this...


A few years ago a friend who owns a furniture/lifestyle shop told me that none of the 'white' walls in his shop were actually white!
They were in fact a 'near' white as 'pure' white did not compliment the furniture/products as well as said 'near' white.
This got me thinking... I have always started my white with an off white or grey or used white then washed it with another shade.
How near/un white can you go and still visually have 'white'... quite far it would appear.


Ok this is obviously not pure white but placed on a dark colour or viewed in isolation it looks fairly close...


 Viewed on white....miles away.


This is Citadel Pallid Wych Flesh , it is my go to colour for white...
It works as a good base for 'pure' white or in its own right as an 'off white'.
Okay...there are other off whites, near whites and pale grey whites available but this is my one.


You can see how the pure white belts stand out nicely on the Pallid Wytch Flesh 'white' uniforms.


Now that I have my basic 'white' sorted it is time to plan out my grey...


I have decided to continue with the warm tones started by the Pallid Wych Flesh and add different percentages of Stormvermin Fur to get my grey shades...


Of course in my excitement I forgot write down the exact percentages...so...
Top row...
White - Pallid Wych Flesh.
Grey/White - Approximately 80% Wych Flesh and 20% Stormvermin .
'Some Dutch' - Approximately 50/50 Wych Flesh and Stormvermin.
Second row...
'Some Dutch and Danes' - Approximately 60% Wych Flesh and 40% Stormvermin.


I now have a nice big pot of Grey/White for my next French unit...


Which will be Picardie...


One final thing...


When painting white and light grey or any other colour as a mater of fact make sure you have a supply of good clean water...


BAD!... 10% water 90% primordial slime...


GOOD!... 60% water 40% screenwash and in the right hand jar 100% screenwash...


Screenwash... I am sure this is called different things in different parts of the world but in Nottingham Wiloco's ... this is the stuff to get... it is also very inexpensive.


Don't be put off by the blue colour , the screenwash really gets your brushes clean, a first rinse in the 100% then a final go in the 60/40...
I also works as a diluting agent for washes because it contains a tension breaker that helps it flow.


If you are an airbrush user screenwash is perfect for diluting your acrylic paint( I first read about it being used for this purpose over ten years ago) and for cleaning the damn thing after you have got fed up trying to get it to work...

I hope my ramblings have been of some use to you...
Its time for me to paint some French...


All the best  Aly

Wednesday, 19 July 2017

Basing tutorial

The lovely Phil Robinson ask me about my basing...
So I have put together a little tutorial on how I do my simple but (hopefully) effective bases.


WARNING... this post contains obvious and unashamed product placing...


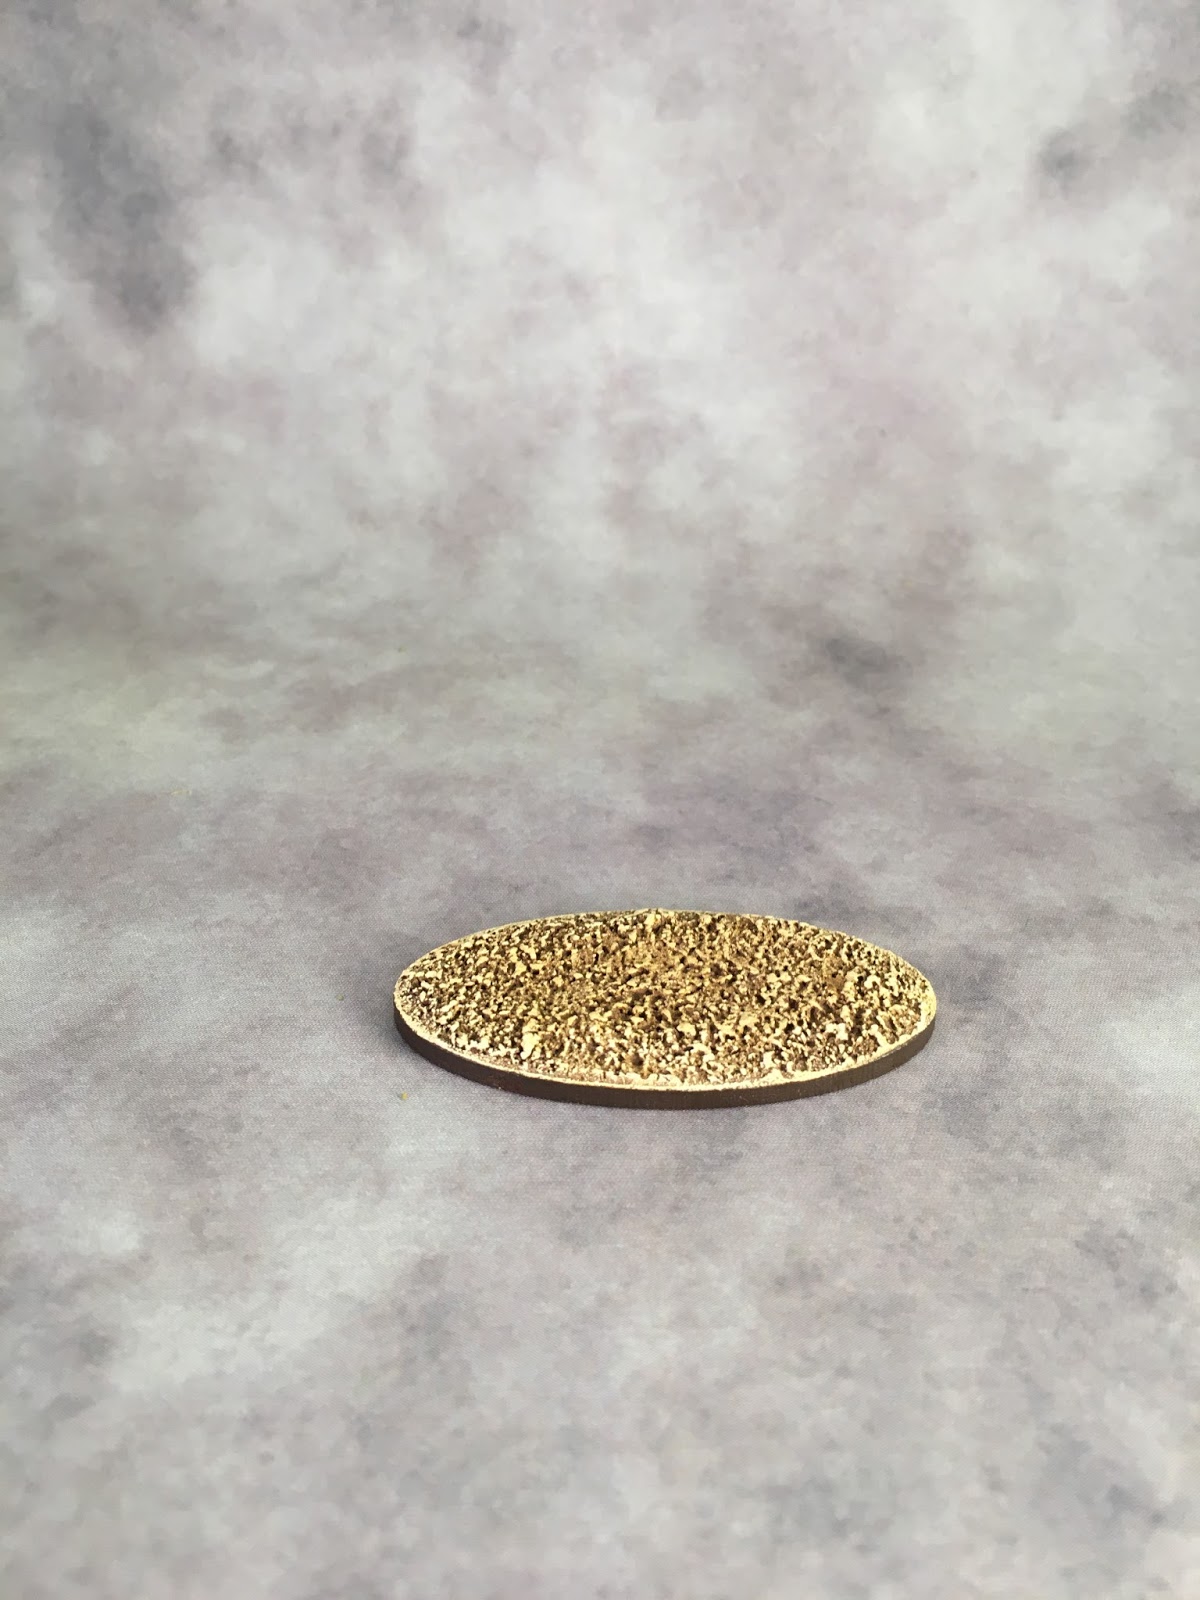
The first stage is to texture the base...
I get all my bases from War Bases... https://warbases.co.uk/


I apply a thin layer of lightweight filler to the surface of the base.


I discovered this material by accident at my local Wilcos (this is a British hardware-general store)
when I picked up a tub of filler that appeared to be empty, the only way I can describe it is aerated polyfiller...it doesn't appear to have any real shrinkage and therefore doesn't cause any warping.


Wilkos lightweight filler.


Next I stipple the filler using a cheap firm artists brush...


A cheap artist brush...


I use Tamiya flat earth diluted with about 30% of Tamiya thinner.
The combination of the lightweight filler the diluted paint  and capillary action means that paint is sucked across the surface of the base, making it much easier to get between legs and other obstacles.


Tamiya paint...


I dry brush the base with Wargames Foundry's Boneyard trilogy ...


Yup!...no surprises there...


I edge the base with Citadel Dryad Bark... I like my base to have a dark edge, I feel it frames the figures... if that is not your thing , just ignore this bit...


You still get to see the paint pot...


The dry brushed base...


I apply PVA from a small bottle with a nozzle... putting it on quite thick...


And there it is...


Next I cover it in static grass and leave to dry thoroughly..


Yes its static grass... I really cant do any product placement here... my static grass is made from a mix of different materials from different sources...I put all of the flock I had acquired over the years into one box  and mixed it around until I got a colour I liked.


A grassy base...


Okay now its time for my little innovation...


I wet brush (for want of a better description) PVA onto areas of the static grass...


Then I dunk the base into K&M Medium Olive scatter material...


What I am trying to recreate is the look of the different small leaved plants that you find meadows and uncultivated ground...a bit like my garden.


K&M make red and yellow scatter so you could do some sort of floral arrangement if you really wanted to.


All done...


I hope this slightly light hearted tutorial has been of some help to you.


I have earned no money from the product placement on this tutorial.....yet!


All the best.   Aly